| Missile Silo | |||||||||
| Home Page - Miniatures - Terrain Making - Missile Silo | |||||||||
Terrain Making: Missile SiloHere I show how I made a missile silo from some simple and cheap (mostly free materials) for use with Games Workshop's Sci-Fi minis game, Warhammer 40,000 (WH40k). WARNING: You should not attempt these procedures without an adult present.
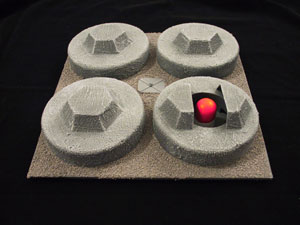
The dilemma here is that a missile silo is generally not that exciting of a feature. The hatches are flush with the ground, the missiles are not visible, and there are no buildings above ground to fall prey to enemy missiles. So I decided to raise the silos slightly and, so folks can figure out what it's supposed to be, to have one silo open as if in preparation to launch. The added benefit is that the raised silo features make the terrain tactically useful for cover instead of just eye candy. Materials
* - mine came from solvent bottle packing material which I cut down
with a hot wire scroll
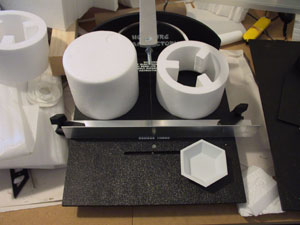
table and hot wire knife. Procedure1. I started by chopping up some solvent bottles I cut the ends off with a hot wire scroll table. Then I used a hot wire knife to make a hole in the center of the piece with the hot knife, pass the scroll table wire into it and rotate the piece to cut out the inside cleanly.
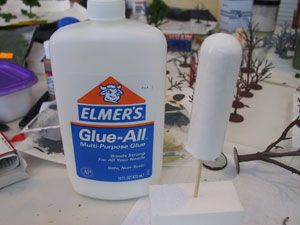
2. Meanwhile, the "missile" is being sealed with Elmer's Glue to reduce the rough texture of the filter paper and facilitate painting. [I also needed to cut down the piece eventually. I chose a height that allowed the missile to remain inside the silo cover for protection from abuse while gaming, but allowed it to still be readily visible]
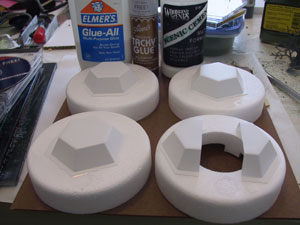
3. I carefully cut one plastic weighing dish in half with high quality shears. This would be the cover of the open silo. 4. Lay the pieces on the hardboard and test the layout.
5. I affixed the foam pieces to the hardboard base with Aleene's Tacky Glue, then I affixed the plastic weighing dishes to the foam. 6. Fill in small unwanted pits (more visible in the picture above) with spackle (a.k.a. filler, polyfilla, etc.)
7. Paint the main piece with texture paint. 8. Spray prime the missile head white and spray prime the reinforced door gray. 9. Paint the main piece with Storm Grey Latex. 10. Paint the head of the missile Bright Red and the base White (the extra layer of paint helps hide the filter paper texture). I only used a little glycerin in the paint so that it would be thick and not show brush strokes. 11. Highlight the main piece by dry brushing with Rain Grey then Quaker Grey. 12. Glue the reinforced door in place with 5-minute epoxy. 13. Highlight the reinforced door with Quaker Grey. 14. Apply Elmer's Glue to the open surface of the base and flock with a moderate sprinkling of medium talus then a thorough layer of fine talus. 15. I use a standardized sealing approach on the main piece - 3 layers of gloss followed by one layer of matte. For more detail see my page on sealers. Since I made the missile small enough to be recessed in the silo and thus protected, I only applied the Dullcote (matte) to seal it. 16. Mix up 5-minute epoxy and carefully apply a generous amount to the inside of the lip of the missile head piece (mine was hollow) and a very light coat to the bottom edge, then set it in place. The epoxy will then settle down from the inner walls of the piece to the base, gluing it firmly in place without a lot of visible epoxy.
|
|||||||||
| Questions? Comments? Please let me know via my questions/comments form! |


