| Bunkers | ||||||||||||||||
| Home Page - Miniatures - Terrain Making - Bunkers | ||||||||||||||||
|
Here I show how I made a bunker from some simple and cheap (mostly free) materials. The idea of this bunker was for it to be large enough to hold a small transport vehicle for Games Workshop's Sci-Fi minis game, Warhammer 40,000 (WH40k). WARNING: You should not attempt these procedures without an adult present. Bunker Project #1 Mechanized Infantry Bunker
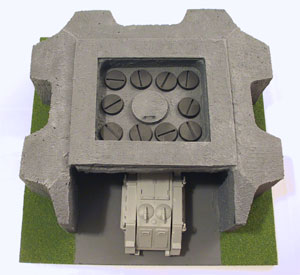
My first bunker building project. I am surprised at how many buildings I see for WH40k that are too small to actually hold more than a few people inside. I designed this bunker to be a viable base of operations for a mechanized infantry unit in WH40k. I wanted it to have the ability to hold a squad of ten guys behind cover on top and fit at least one transport vehicle inside; I used a Space Marine Rhino as my metric. Materials
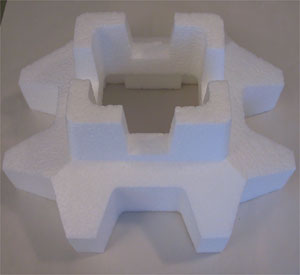
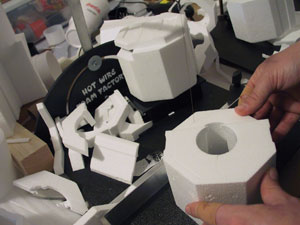
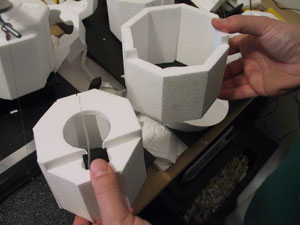
Procedure1. Start with a piece of foam that is close enough to the size and shape you want that modifications will be minimal, preferably just chopping some pieces off.
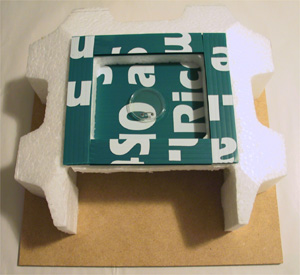
2. Cut down top prongs, trim a little off the side prongs to allow it to comfortably fit inside the mounting board. 3. Cut an opening to allow a vehicle to fit inside. 4. Add strips of plasticore around the top edge to build up the edge and cover up irregularities of foam cutting (I did not have a good cutter at the time). 5. Using 5-minute epoxy, glue down the petri dish lid as a hatch and glue the handle onto it.
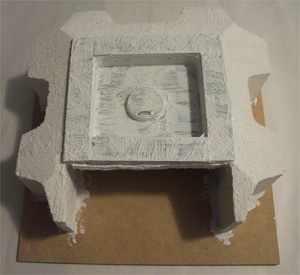
6. Seal the bunker itself in texture paint.
7. Paint the bunker and mounting surface with Delta Ceramcoat Storm Grey, then highlight with dry brush of Delta Ceramcoat Rain Grey.
8. Paint the outside ground with white glue and then apply flock...
Does it work? Let's test it out with some blank bases and a Space
Marines Rhino...
Bunker Project #2 Small Bunker
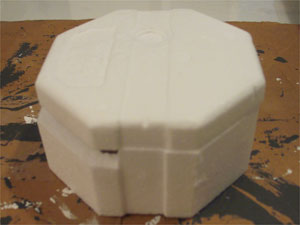
My second bunker building project. I designed this bunker to be a viable base of operations for a single unit of man-sized figures at 28mm scale. Materials
* - I just took the bottles to Home Depot's paint area and they mixed up a quart of each color in ten minutes and it only cost $9 per quart! Procedure1. Start with a piece of foam that is close enough to the size and shape you want that modifications will be minimal, preferably just chopping some pieces off.
2.
|
||||||||||||||||
| Questions? Comments? Please let me know via my questions/comments form! |
