|
What follows is my conversion of 8 Mini-Cooper cars from
the Hot Wheels toy line.
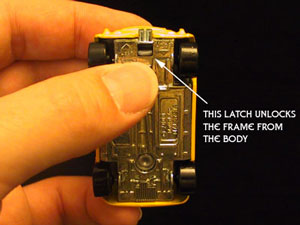 |
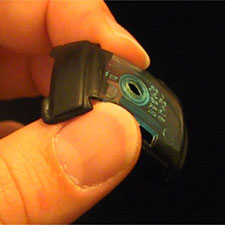
| This made my life a lot easier. By sheer luck I picked a
car that could be easily taken apart with this nifty little
latch. |
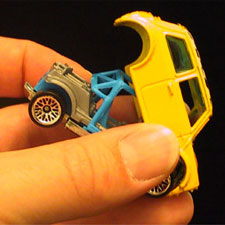 |
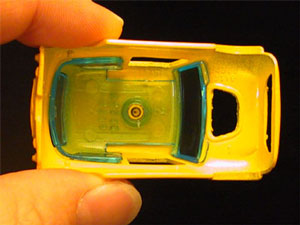
| Once the latch was released, the body could be tilted forward
and removed from the chassis. |
 |
 |
| With the body separate, I could remove the plastic
windows carefully for painting separately. |
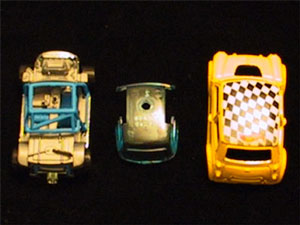 |
| The various pieces of a dismantled Mini-Cooper. |
 |
| The Chaos of my work area. I was working on my Tyranid army
at the same time, so it was a lot more cluttered than usual. |
 |
| I simply painted black paint over the parts of the window
that would be visible when it was put back in the body. |
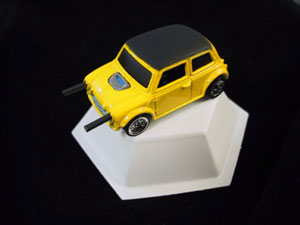
Now came the question of how to make the gun barrels. I had already
established the technique of pinning
models, using paper clips for reinforcement and I wanted to
take advantage of that. I also wanted the gun barrels flush, so
it was critical that the pins be normal to the surface. So I decided
to approach it form the other side. I would glue the pins into
the barrels and then affix them to the car. This would insure
the barrels were flush with the surface.
I would also take care of painting them before mounting them,
another good reason to mount them on pins.
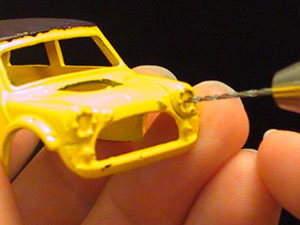 |
| I used a 0.035" drill bit in a pin vise to make the
holes for the paper clips. |
 |
 |
|
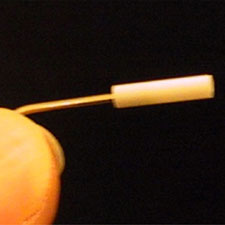
This 3/32" tube has an inner diameter just slightly
larger than the outer diameter of a paper clip, which makes
it a convenient choice. It's also the smallest I could find
and looked to me to be about the right size for a gun barrel
on a car.
The cutting tool shown is the
Chopper, a very simple buy highly useful cutting tool.
I set the length to 3/8" and chopped away.
|
 |
 |
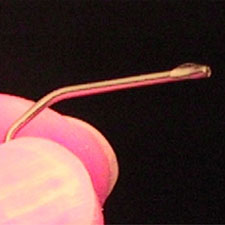
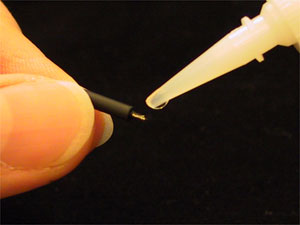
| Once I had cut pieces of styrene, I took reasonably
long paper clip segment, say 1.5" or more, and glued
a piece of styrene to it with cyanoacrylate glue (a.k.a. Superglue). |
 |
 |
|
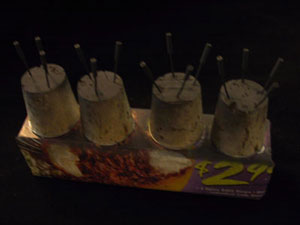
I then mounted the pins into a piece of cork which was
affixed to a metal washer. These were then placed no a mount
consisting of a piece of wood with magnetic strips on top
and wrapped in newspaper. This allowed me to spray paint
multiples easily and spray at various angles without fear
of dropping pieces. I simply sprayed on black primer and
left it at that.
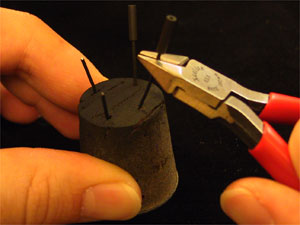
After the paint had dried, I clipped the pins short, leaving
1/8" to 1/4" of pin to insert into the car.
|
 |
| I then added a dab of cyanoacrylate glue and affixed the
barrels to the car. |
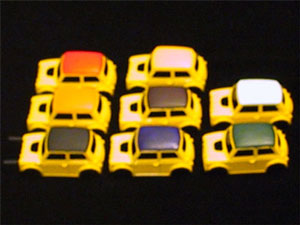 |
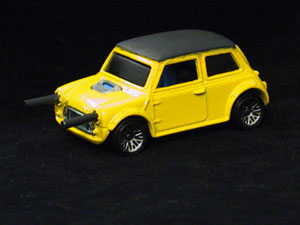
| Here are all of the bodies, painted with their basecoats.
Note the black car has barrels at this stage. |
 |
| I applied Future floor finish to the surface to shine it
up. In this picture, the Future is still wet. |
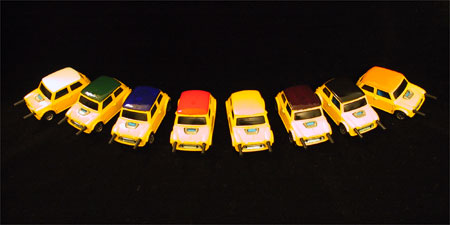 |
| And the final collection of Combat Coopers provided by Pagoda
Motors for Amateur Night! |
|