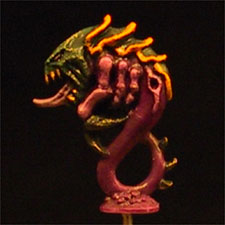
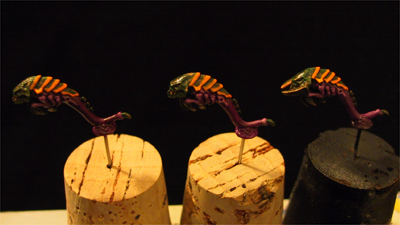
Ripper Swarms
The Finished Product!
Note: the strange-looking one on the right was accomplished
by serendipity as my work light dipped down and melted the top.
With some quick damage control, I turned a mess into a freaky
looking little beast. :-)
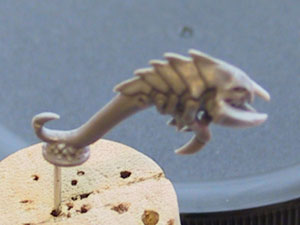
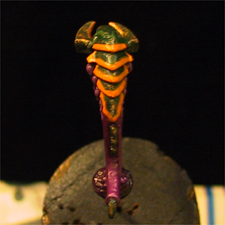
Test subject
These are the ones I started with. These pictures were taken
before I finished sealing the models. At this stage I had used
what I had at hand, a can of Krylon Matte Sealer. It's not a
bad finish at all, but I still plan to bullet proof with Krylon
Crystal Clear (protective gloss coat) and then return for to
a matte finish with another sealer. Finally, the plates and
other appropriate areas will be made more glossy with application
of Future with a brush. The left eye on this guy was melted
by overzealous plastic cement application, so I had to fake
it with a dot of paint.
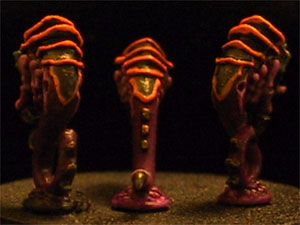
Testing, testing...
OK, so the shading was too dramatic. I decided to divide up
the colors a little more and use the stop sign approach, as
discussed on the Tyranid Painting
page and my Basic Painting
page.
 |
| A comparison of coverage. The rightmost Ripper has only
had a single coat of paint. The middle one has had two.
The leftmost one was primed in black and also has had two
coats. |
 |
| Priming/basecoats finished. The coats are smooth, have
good coverage, and the color comes through well. The Black
Green actually looks a little green. :-) |
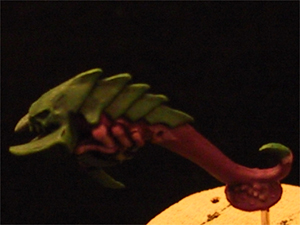
All right, so I highlighted the green and purple. The green
chitin came out all right. I might have made them too subtle,
I fear. The purple was quite the opposite. The features were
so incredibly small that the highlights ended up being rather
dramatic.
|
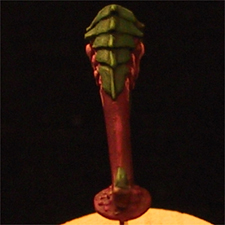
|
| Here you can see the more extreme highlights on the tips
of the plates and tail. The snake body was hard to highlight
without it looking even sillier than the arms. |
 |
 |
I may have to wash the purple areas to take the edge off of
the shading.
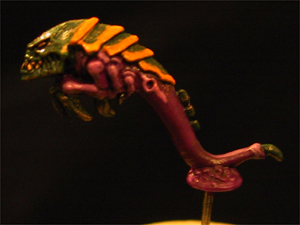
After the Gloss Coat
Note: you should normally base the miniature before sealing
(see my sealing page
for more details)
Here are a trio of Rippers I finished painting and then coated
with Krylon Crystal Clear gloss coat. The bronze flecks were
accomplished by stippling this time; drybrush-like approaches
put down too much paint and created unnatural streaks. Stippling
is similar to drybrushing, but you dab/jab the brush tip at
the surface instead of stroking across it.
 |
|
| Just for the heck of it, I tested the color
settings. The image at the left is a typical photo. The
one at right was cropped down from a photo with a strip
of white paper in the shot. I can't see a real difference |
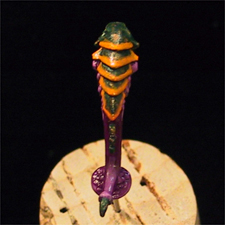
A Trio After Sealing and Gloss Highlights
Note: you should normally base the miniature before sealing
(see my sealing page
for more details)
Basing
Note: you should normally base the miniature before sealing
(see my sealing page
for more details)
Here comes the cool part, basing. I get to make my model look
much nicer with little effort. I ended up going with a tried
and true method after trying a modified method. I tried mixing
sand with PVA glue, then painting it on, concerned that the
sides of my base should be textured and robust. I did not like
the look, so I went with a very common method.
- Painted PVA glue on the top of the base
- Dipped it in sand
- Let it dry thoroughly (at least 30-60 minutes)
- Painted the whole base with Ceramcoat Mudstone (75:25 paint:water)
- Highlighted/drybrushed the whole base with Ceramcoat Sandstone
(75:25 paint:water)
- Highlighted/drybrushed the whole base with Ceramcoat Antique
White (75:25 paint:water)
- Painted a few dabs of glue on the base.
- Dipped base in green ground turf by Woodland Scenics.
- Waited 30 minutes to dry.
- Highlighted/drybrushed the whole base with Ceramcoat Light
Foliage Green (75:25 paint:water)
The Final Finish
I wanted to have everything but the chitin have a flat finish.
So I used one or two coats of Testors Dullcote to get a
flat finish and then went back and painted the green chitin
with Future floor finish (see my sealing
page for more details)..
The finished product is at the top of the page.
|