Assembly Notes: Gargoyle
Use Pictures!
You should look up pictures of the model in the Tyranid Codex
as well as keep the box the model came in close by. The picture
on the cover of the box and the pictures in the Codex will
help guide you as to the intended posture and appearance,
which can be very helpful, even if you want to convert the
model.
Materials
- Needle files
from the Testor's Model Masters set.
- 5-minute epoxy
- Any sort of epoxy putty
(Kneadatite blue/white is good)
- A double ball sculpting stylus.
- Pinning supplies
Pre-assembly
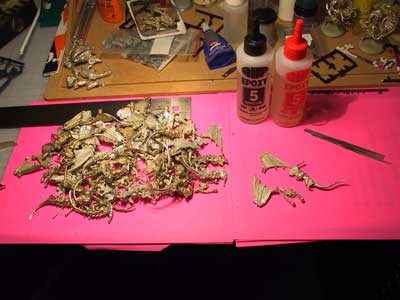
Remove all flash and scrub the parts clean with dish soap
and water.
Note: You can substitute epoxy resin putty or your favorite
adhesive for "glue" as you see fit.
A. Pinning the wings to one another and the body
|
|
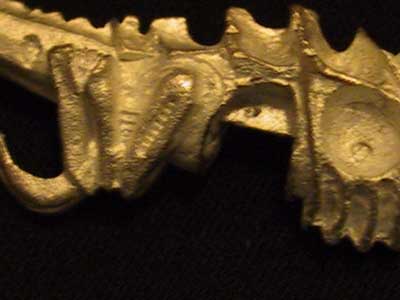
| OK, pick a Gargoyle from the
pile and clean up the flash. |
|
|
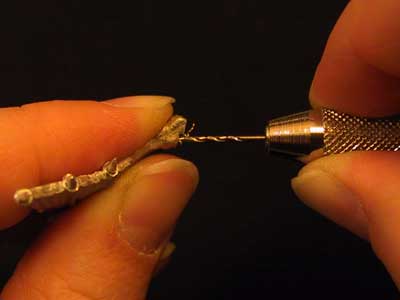
| Check the fit of the wings and
pick a spot that falls well within the area of the thin
metal septum on the belly that sits between the wings.
Drill a hole for pinning.
|
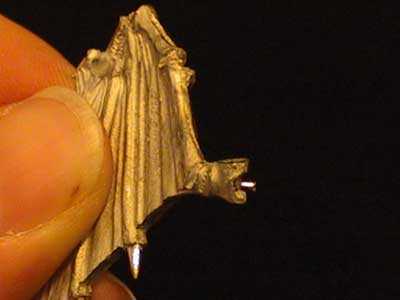 |
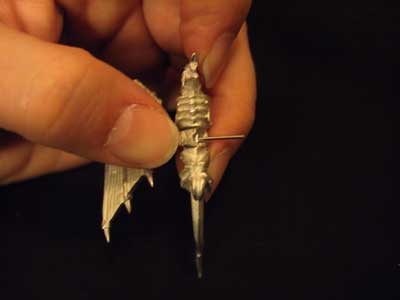
| Use a short piece of pin. This
will be used for marking, not assembly. Ideally, the
end will be a little rough and sharp. |
 |
| Sorry about the blur, but here
I am pushing the wing with the marking pin into the
metal septum. Be careful to push the wing on in the
proper position and orientation. |
 |
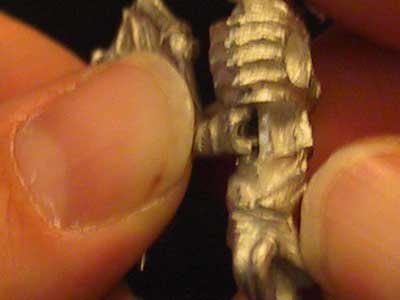
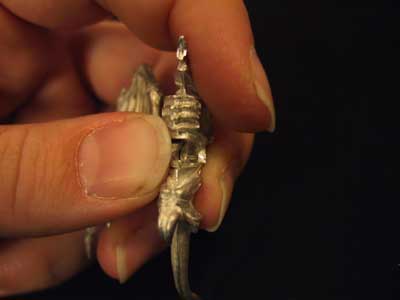
| Here's the mark made on the
septum. Is it perfectly centered? No. Is that necessary?
No. |
 |
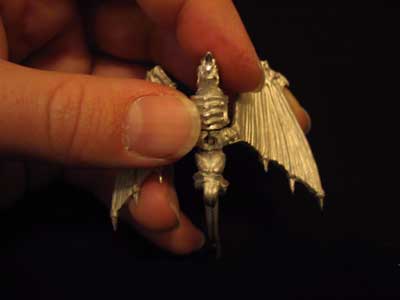
| Here I have inserted a long
pin just to show that there is now a continuous hole
in the wing and septum. |
 |
| Clip a short pin for marking.
Now it has to be long enough to poke through the septum
and touch the other wing. |
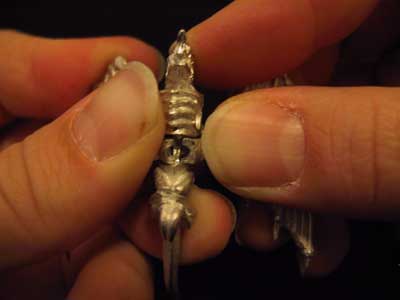 |
| Press the other wing on to mark
it. Be careful to push the wing on in the proper position
and orientation. |
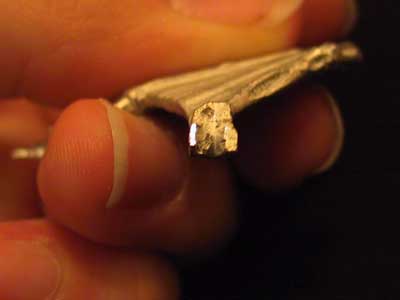 |
| Again, there is a mark. It's
not perfectly centered, but far enough from the edge
to be safe. Drill a hole as above. |
 |
|
Make a pin of the proper size
to connect both wings. Mix up some 5 minute epoxy.
Dip the pin into the epoxy and insert it into one
wing (I used needlenose pliers to hold the pin). Dip
the other end of the pin into the epoxy. Also, slather
some onto the surfaces of the wing bases that will
touch the mounting surfaces of the underbelly and
opposite wing. You want to be generous without slopping
into details of the model.
Now, HOLD THE MODEL IN THE
PROPER POSITION FOR MORE THAN FIVE MINUTES! It's called
five-minute epoxy, but come on, those are large pieces
of metal held at tiny joints and the angle puts a
pretty heavy torque on the joint with just plain old
gravity. I hold it for at least seven or eight minutes.
One of the few times TV is useful is when holding
pieces together until they set.
|
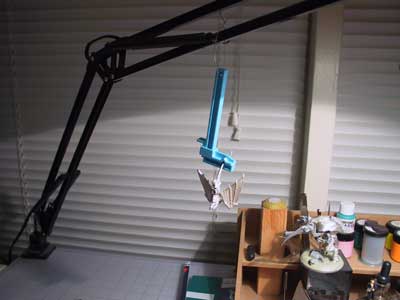 |
| Then I hang it to cure more
thoroughly. The 5-minute epoxy I bought claims to completely
cure in one hour, but I prefer not to test that unless
there is a good reason, so I left this overnight. |
B. Putting on the Arms
For these, I may want to move them later for painting/mounting,
so I dab a little liquid CA glue into the shoulder sockets
and press the arms into place.
C. Mounting/Pinning the Model to the Base
Like many things, the GW flying bases can be improved upon.
Here are notes on how I
made the bases I used for my Gargoyles.
I simply superglued them to the base because I wanted to
be able to break them off later for painting (painting them
on the base is awkward but I also want to play with them right
away), if I need to make modifications, and to facilitate
basing later.
I chose pole heights that would allow me to stack my Gargoyles
side-by-side:
I found the taller bases were a little too top-heavy...more
to come.
|